
If you have a baby or young toddler who puts absolutely everything in their mouth, regular paint is off the table — but that doesn’t mean they have to miss out on the fun of finger painting.
Edible finger paint is easy to make at home, uses ingredients you already have in your kitchen, and gives even the youngest children a safe way to explore colour, texture, and mark-making.
Here’s how to make it, plus a few ideas for how to use it.

Why Edible Finger Paint Is Worth Making
Babies and toddlers learn through their mouths as much as their hands. Trying to stop a one or two year old from tasting what’s on their fingers is a losing battle — and it also interrupts their play.
Edible finger paint removes that worry entirely. You can let them explore freely without hovering, which means they get more out of the activity and you stress less. It’s also a brilliant first sensory experience for babies who are just starting to engage with messy play.
Basic Edible Finger Paint Recipe
This is the simplest version and the one most parents reach for:
Ingredients:
- 3 tablespoons of cornflour
- 240ml of cold water
- Food colouring
Method:
Mix the cornflour with a small amount of the cold water to make a smooth paste with no lumps. Add the rest of the water and stir well. Pour into a small saucepan and heat gently, stirring constantly, until the mixture thickens to a smooth, glossy paste. Remove from the heat and leave to cool completely before dividing into portions and adding food colouring to each.
It keeps in the fridge for a few days in sealed containers.
Yoghurt Finger Paint
For babies who are weaning or for a truly no-cook option, plain full-fat yoghurt works brilliantly as a finger paint base. Simply divide into small portions and stir in food colouring.
It’s thicker than the cornflour version, which makes it easier for small hands to manage, and the texture adds an extra sensory dimension. It doesn’t keep as long, so make it fresh on the day you plan to use it.
Puréed Fruit or Vegetable Paint
For very young babies, puréed fruit or vegetables make a wonderfully natural paint alternative. Mashed blueberries, butternut squash, or beetroot all create strong, vivid colours and are completely safe to taste.
This is obviously not a long-lasting option — it’s best used fresh and outdoors if possible — but for a first sensory art experience it’s lovely.
How to Use Edible Finger Paint
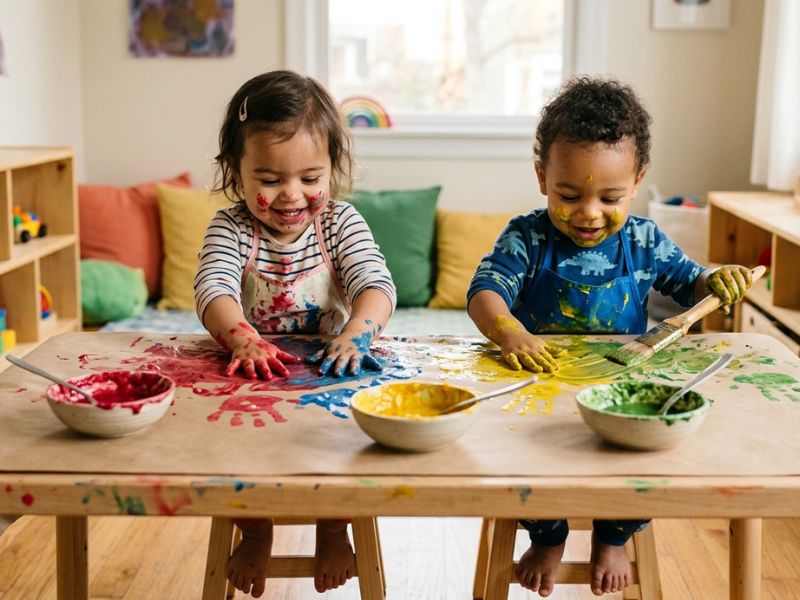
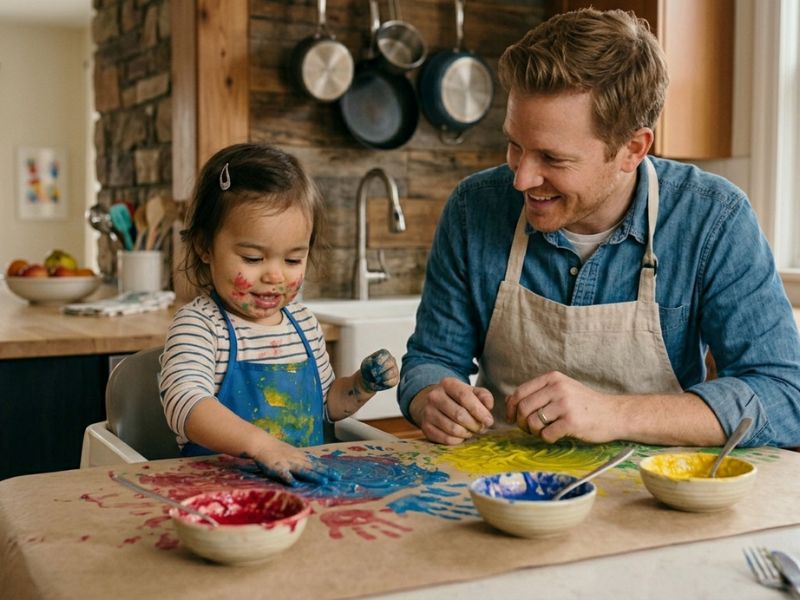
On paper. The most straightforward option. Tape a large sheet of paper to the floor or a low table, spoon out small amounts of each colour, and let your child explore freely. Don’t try to guide them towards making a picture — at this age the process of touching, spreading, and mixing is entirely the point.
In a tuff tray. Spoon the paint into a tray and let your baby or toddler sit or stand at it. The tray contains the mess and gives them a large surface to work with.
On a high chair tray. For babies, painting directly on a clean high chair tray is ideal. It’s at the right height, they’re contained, and it wipes down easily afterwards.
Body painting. Hands and feet prints are a classic for good reason — they make beautiful keepsakes and babies find the sensation of paint on their feet fascinating. A shallow tray of paint, a large sheet of paper, and someone to hold them steady is all you need.
On a window. Thick edible paint applied to a low window or glass door is surprisingly engaging. The light coming through changes how the colours look, and the vertical surface is a novel experience for children used to painting flat on a table.
Tips for Mess-Free Edible Finger Painting
Strip them off. A nappy or vest is plenty for a baby, and much easier than trying to get paint out of a full outfit.
Play outside when you can. Everything is easier to clean up outside, and the change of environment adds to the experience.
Have a damp cloth nearby. Not to wipe hands constantly during play — let them get on with it — but for when you’re ready to wrap up.
Use a splat mat or old shower curtain under the activity. It makes floor cleanup much quicker.